
For those new to OMN especially if this is the first time you have used digital mapping here is a quick run through of the basics of plotting a route and saving it. It’s probably best to have a play first as you may find it quite simple and intuitive but if you get stuck the quick run through below may help.
Creating a Route
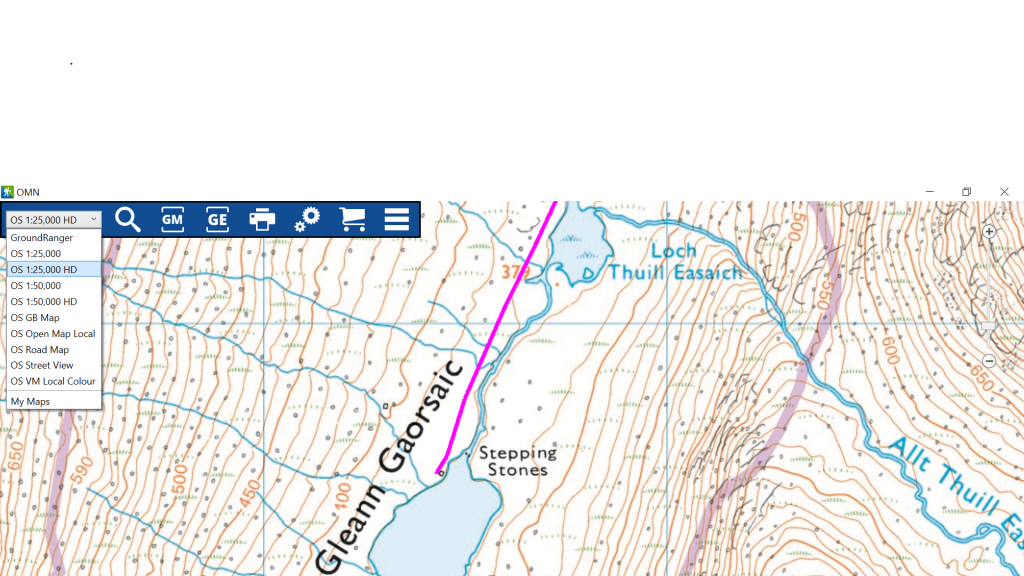
We’ll start of plotting a relatively standard first day out of Dornie. We find the 1:50k HD map best to start with but it is up to you- use the drop-down box on the L to select the map of your choice.
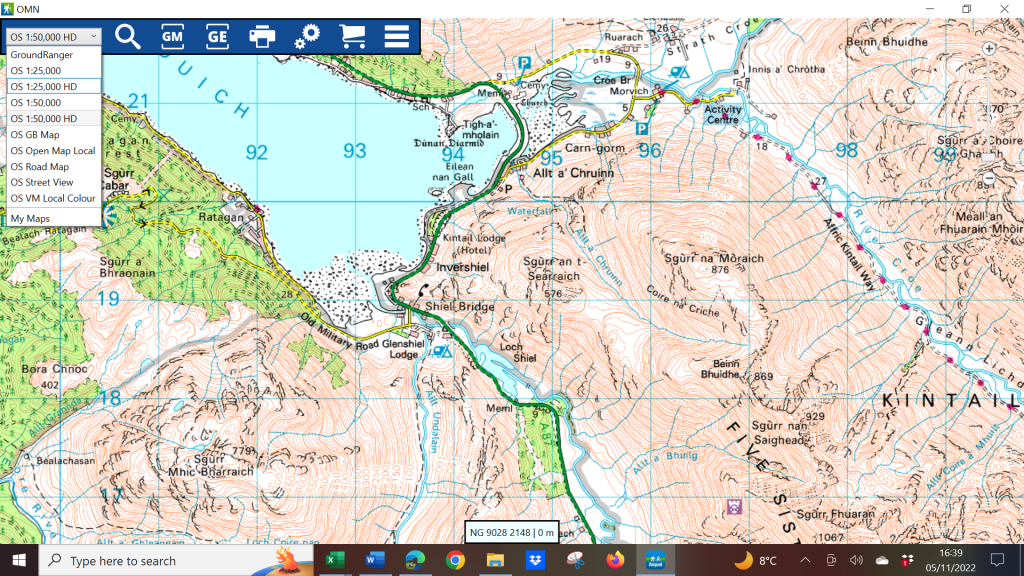
Next L click on where you want the route to start, then move the mouse along your intended route clicking wherever the route turns. Each time you click you create a route point and a straight line appears between the route points. To make it as accurate as possible you will need lots of clicks but the process is pretty quick. It may help to scroll in or out at times using the wheel on your mouse.
When you come to the edge of the map you can move the map along by using the arrows on your keyboard.
If you make a mistake, you can backtrack using the delete key on your keyboard.
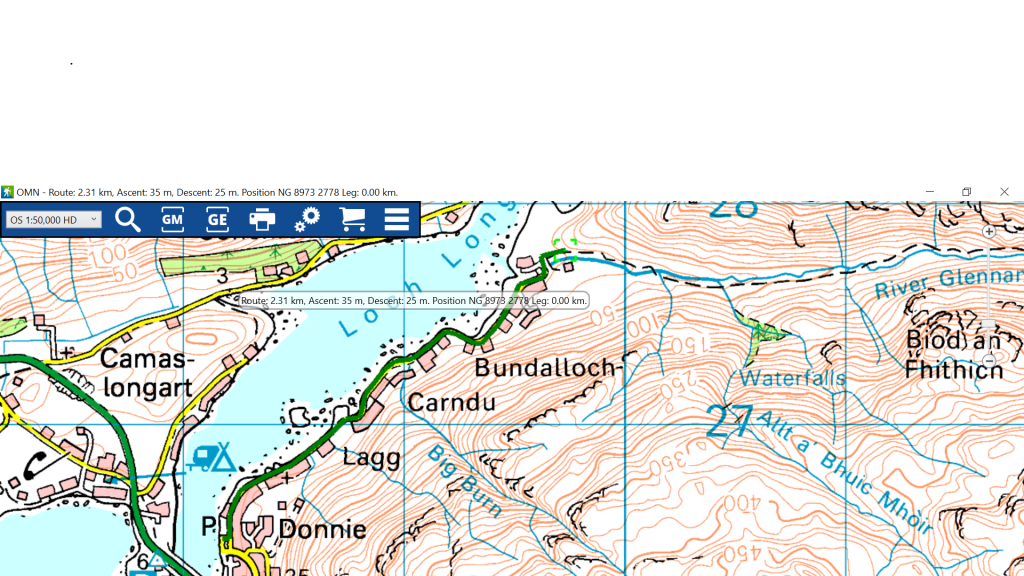
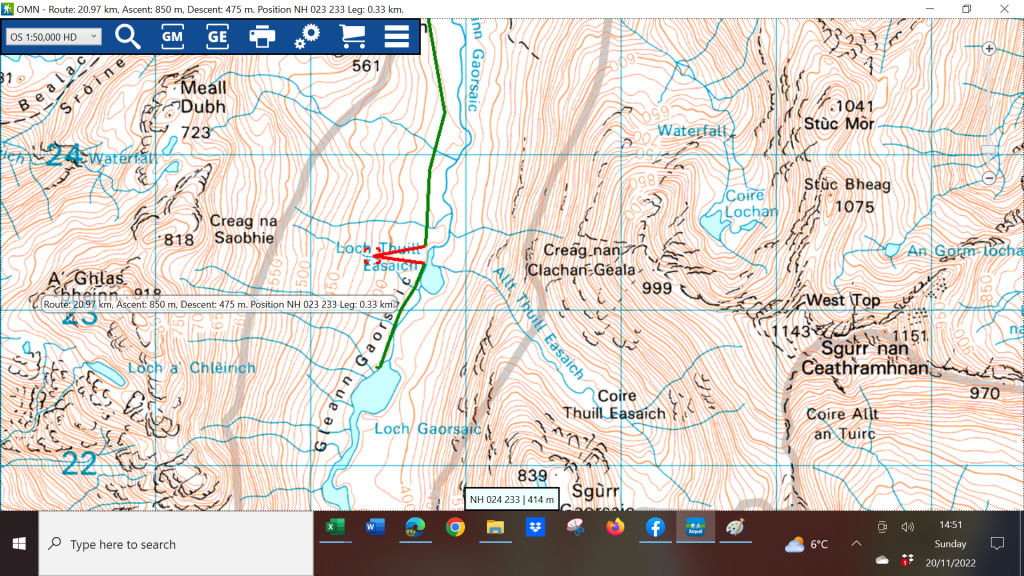
As you go you will see the cumulative distance and ascent figuresfor the route, displayed in a strip box change.
Once you get to where you want to finish your first day right click and select finish route.
So that you first day plotted.
You can scroll out to see the whole route.

or drill down to see some detail by changing to the 1:25k map.
Editing a Route
If you decide on a different finish point R click anywhere along then click continue and you can continue to draw it or use the delete key to shorten it.
To move a routepoint click and then drag it to a new position. You can also add new routepoints by clicking the line in between two points.
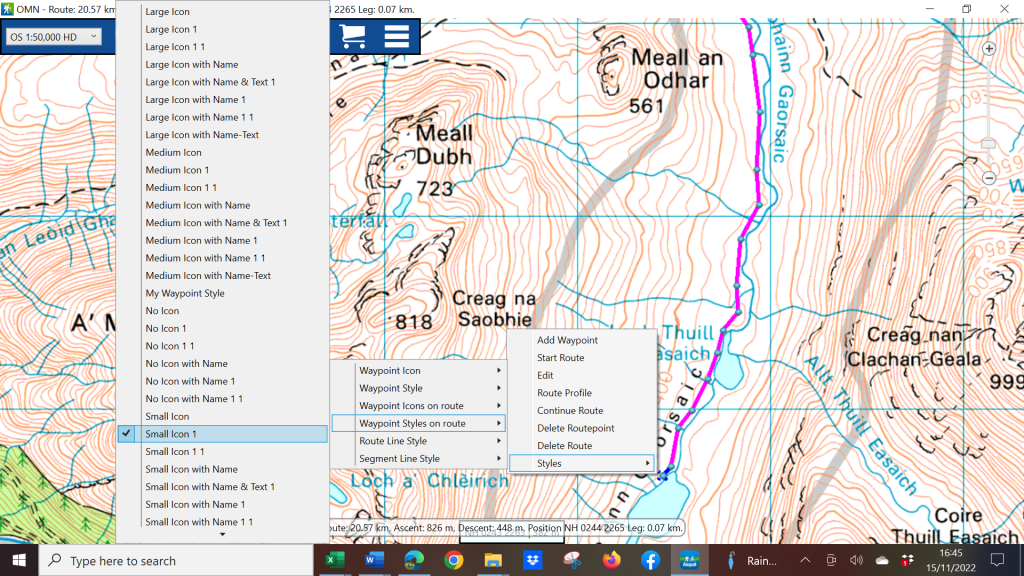
Personally, we prefer not to see every routepoint, but they can be displayed more clearly by changing the settings on a route. To do this R click on the route in between way points and click on “Styles” then “Waypoint Styles on Route” and then choose an icon.
Once you know how you prefer your routes to look you can set this, and other features, as a default by clicking the settings icon on the top blue bar.
Saving your route
This is the bit we find isn’t particularly intuitive>
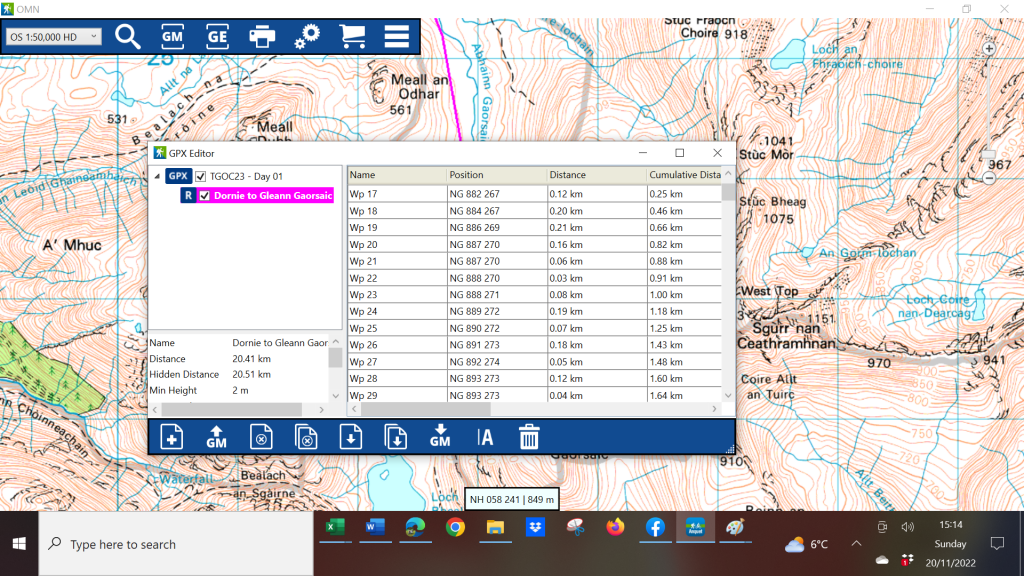
Click on “GE” in the top blue bar. This stands for GPX Editor. You will see:
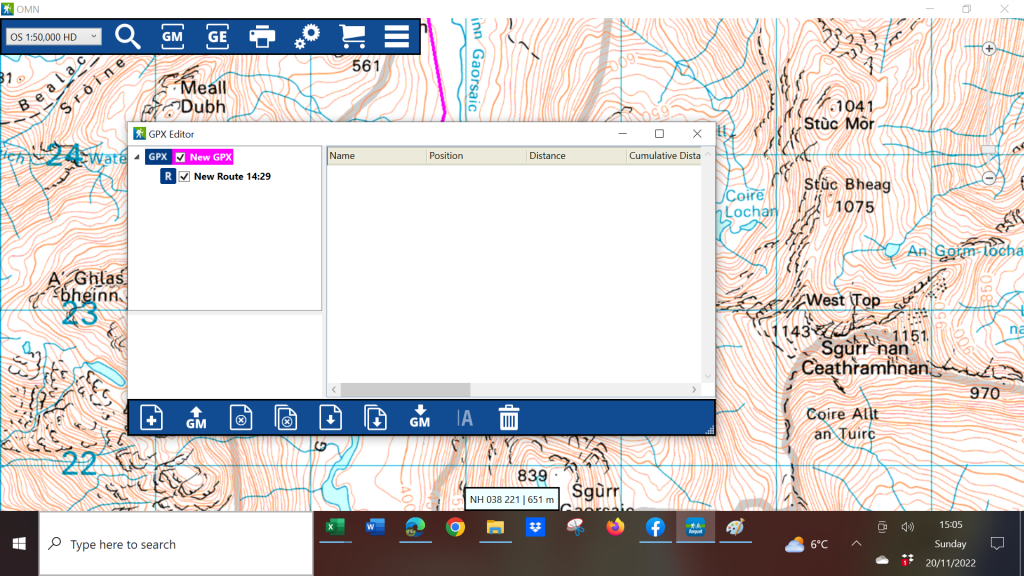
OMN calls your route “New GPX and uses the time you created it. On the bottom bar of this box click the GM with the down arrow on the right side of the bottom bar. This means “download to GPX manager”
You can then name the route and right clicking on the time bit will also let you select a name here.
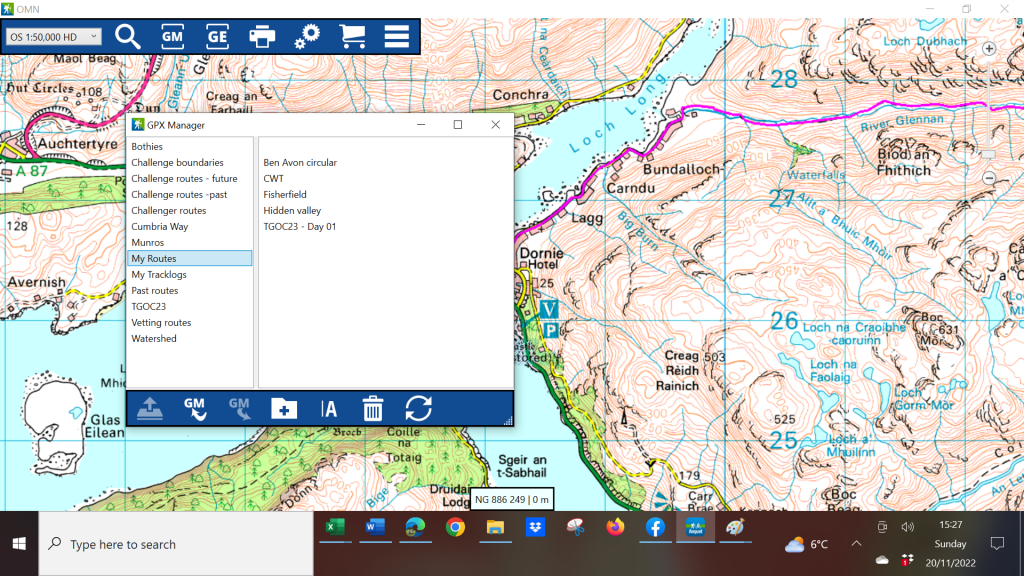
If you now click “GM” on the top blue box and then “My Routes” and you will see your newly created file here. This is where OMN automatically stores it but you can create a separate folder for it by clicking on the folder icon and naming it. Then simply drag the file into it.
Exporting/Sharing your Route
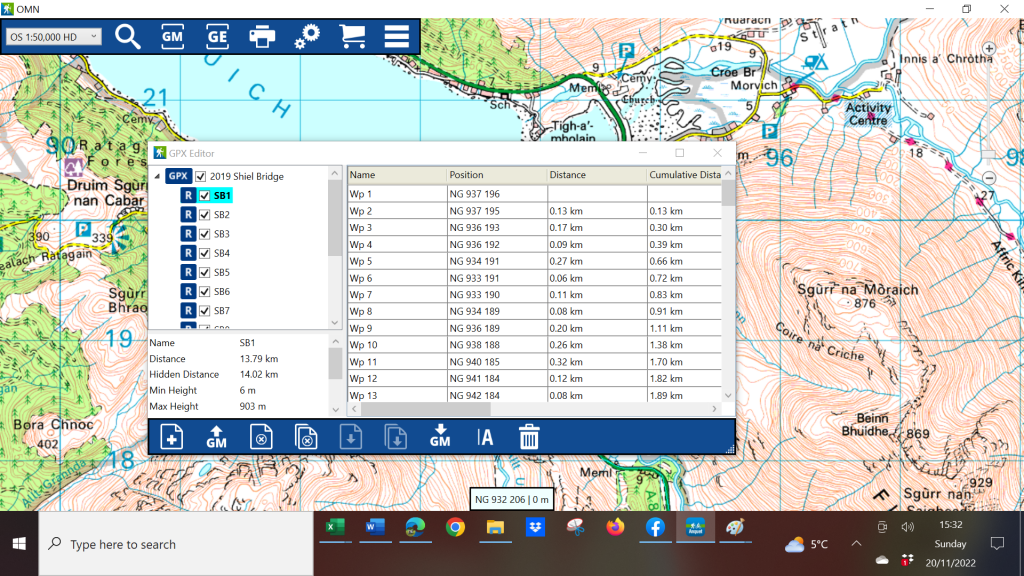
If you are sharing with another Anquet user you can store each of your days in one route e.g. this one from Shiel Bridge. This is the neatest way to do it BUT . . . .
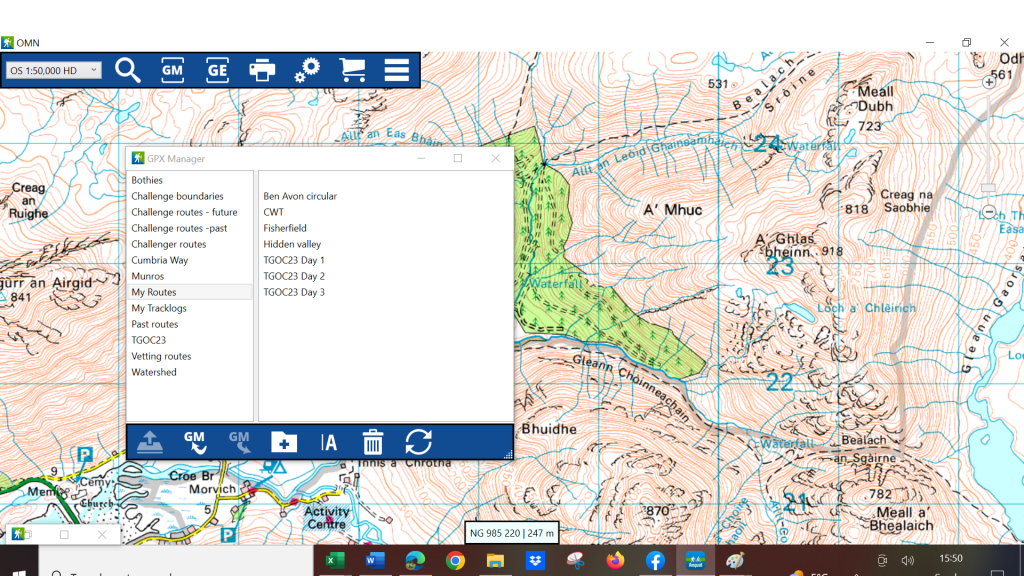
. . . if it is going to be used by someone using Memory Map, OS maps or any other app it is best to save and export each day individually as different apps store routes differently
Click on the route you want to share then click on the GM icon with the arrow pointing to the R and save it wherever you wish.
To import a route simply click on the GM arrow pointing to the L.
Please though only share your route GPXs with vetters and your teammates. A big part of the ethos of the Event is creating your own route.
In the next few posts we’ll move away from the nuts and bolts of using digital mapping and focus on where you might like to go on your crossing – advice about start and finish points – and off course the bit in the middle!